
Vervoco Desktop may be purchased here. (If you'd like the free companion app, Vervoco Remote, so you can type from your phone/tablet over WiFi, it is available on Google Play and from the Apple App Store).
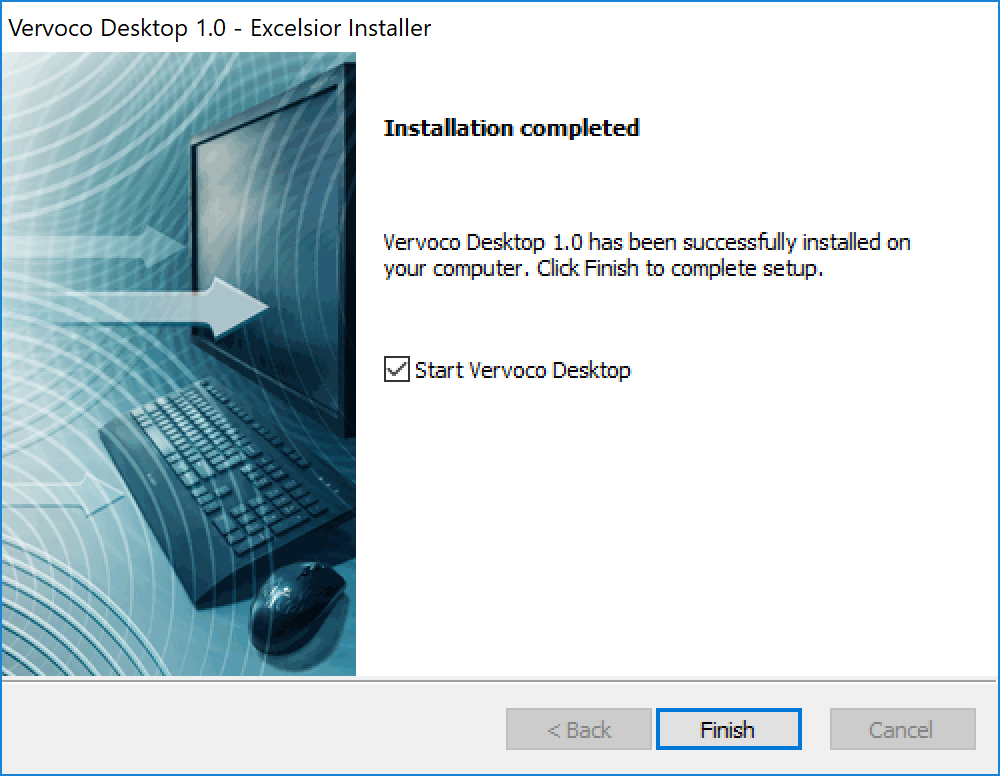
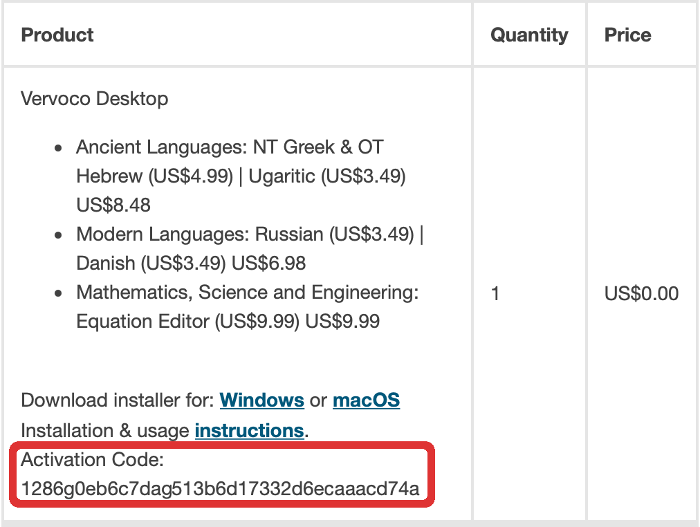
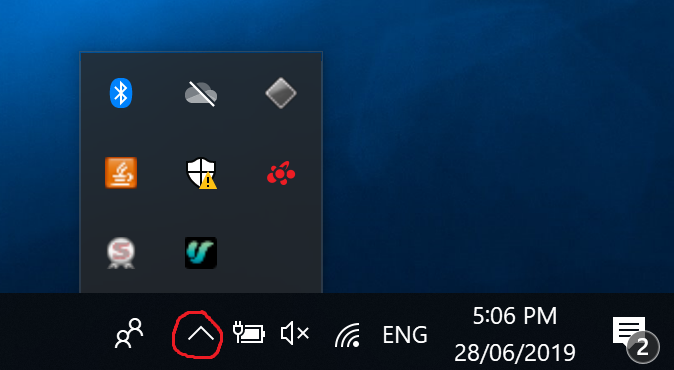
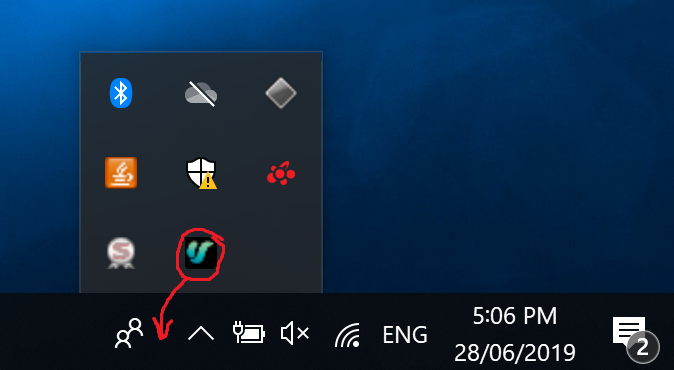
This is how you install and set up Vervoco Desktop:-
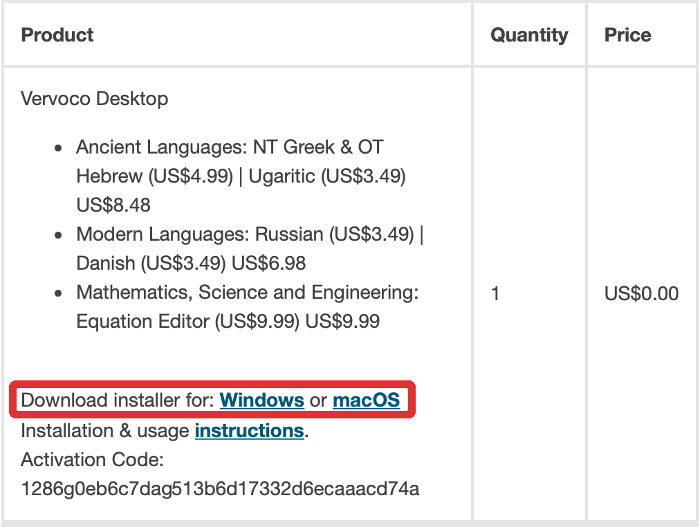
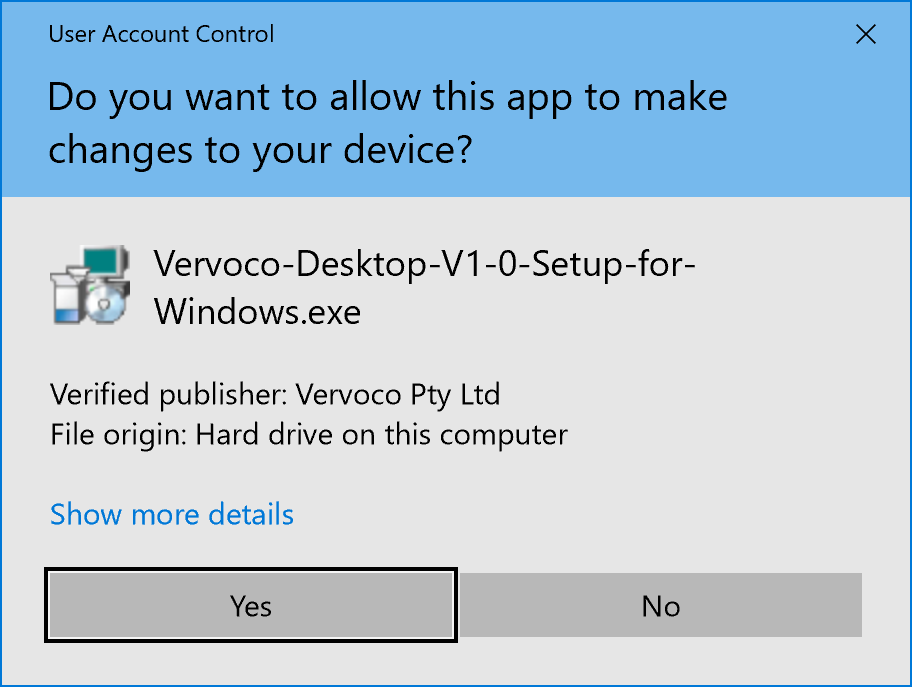
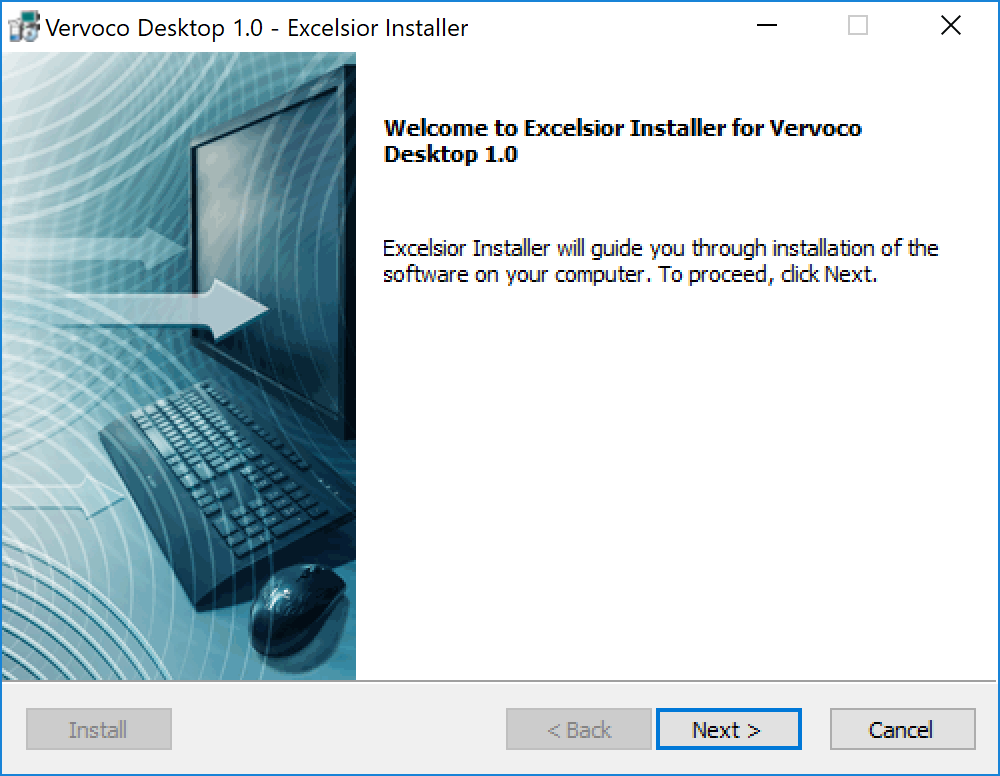
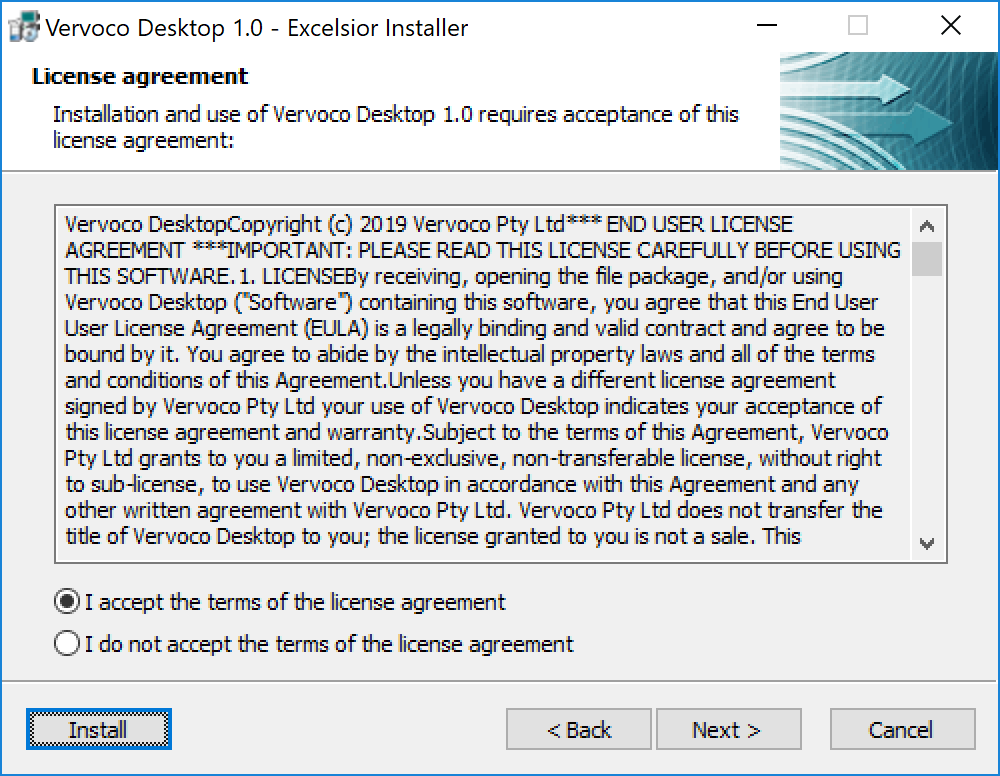
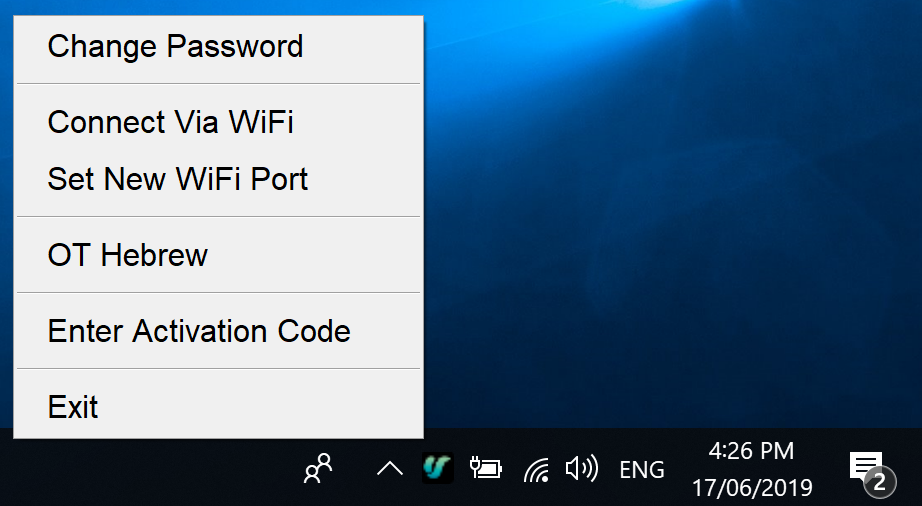
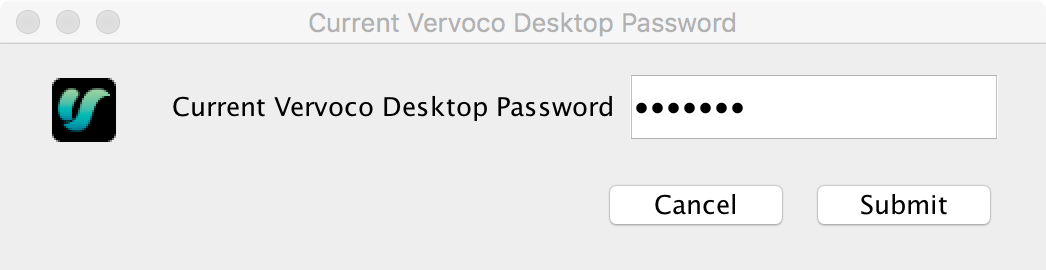
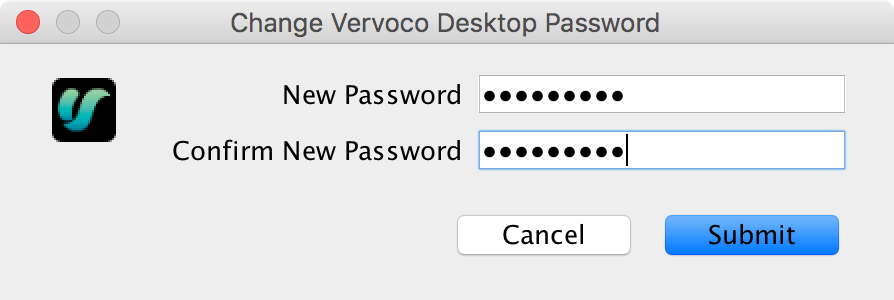
Vervoco Desktop may be purchased here. (If you'd like the free companion app, Vervoco Remote, so you can type from your phone/tablet over WiFi, it is available on Google Play and from the Apple App Store).
This is how you install and set up Vervoco Desktop:-
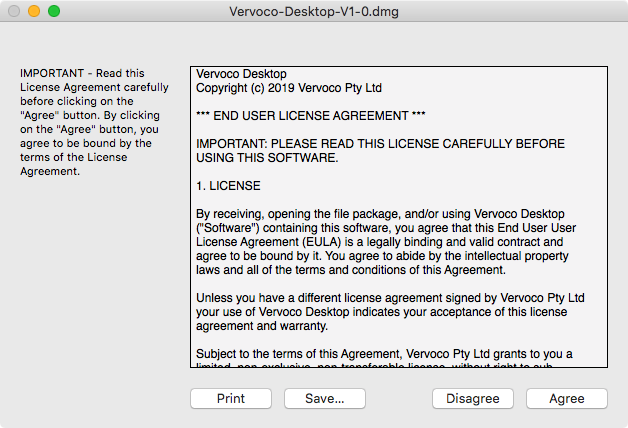
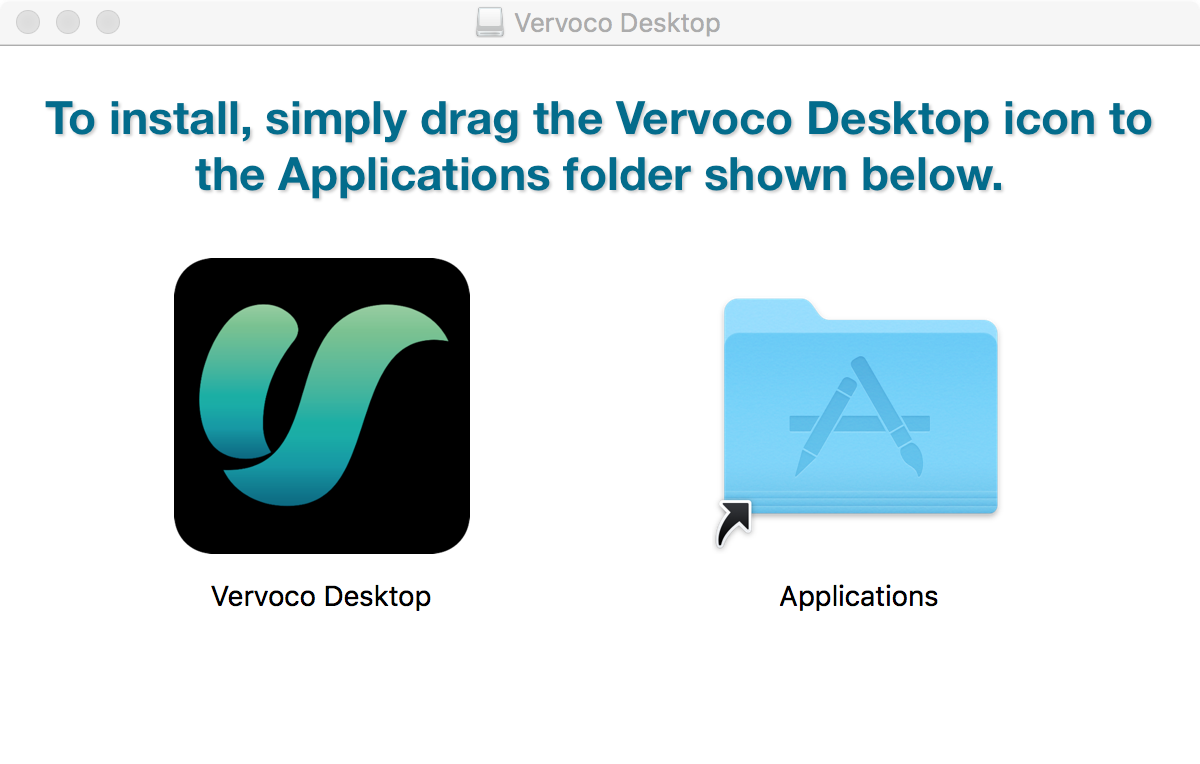
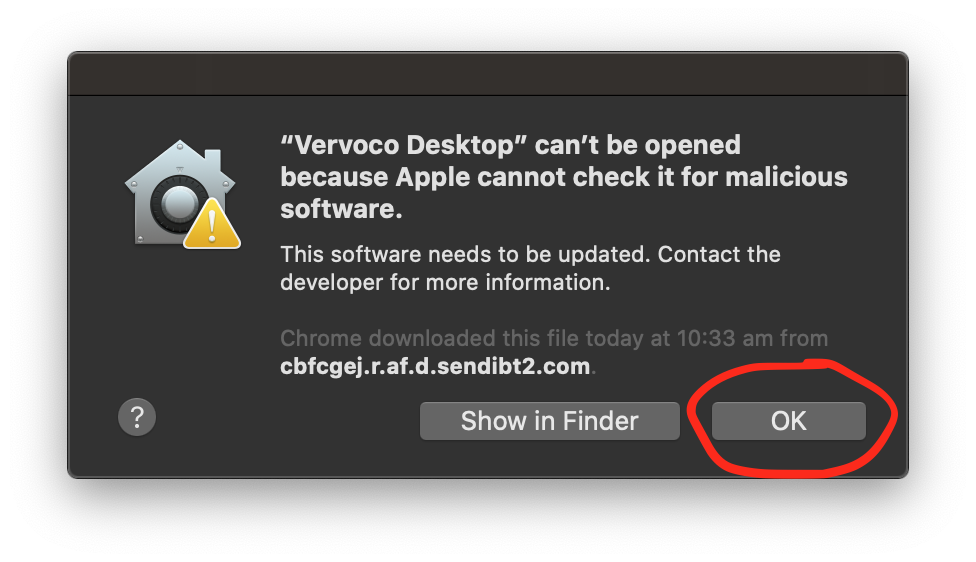
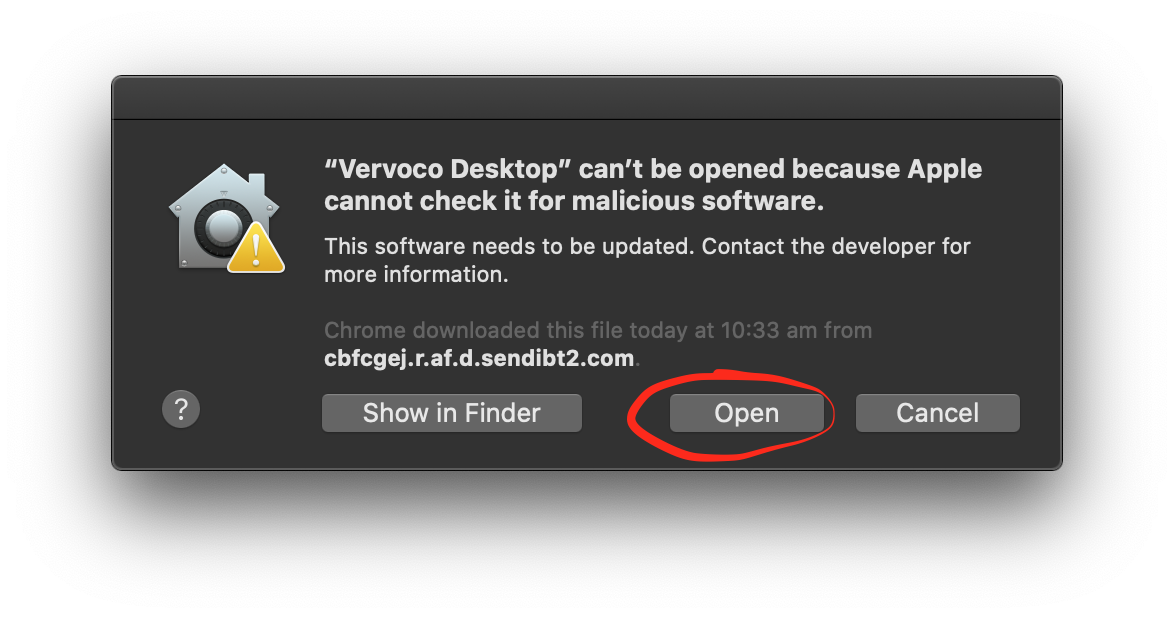
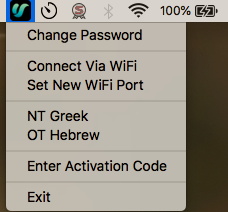
You'll need to perform the installation procedure above before using Vervoco Desktop.
In Windows, double-click on the Vervoco Desktop icon on your desktop to start it running.
Right-click on the Vervoco Desktop icon in the system tray (bottom-right of screen) to bring up the menu.
(If you can't see the icon, refer to point 7 of the installation instructions above.)
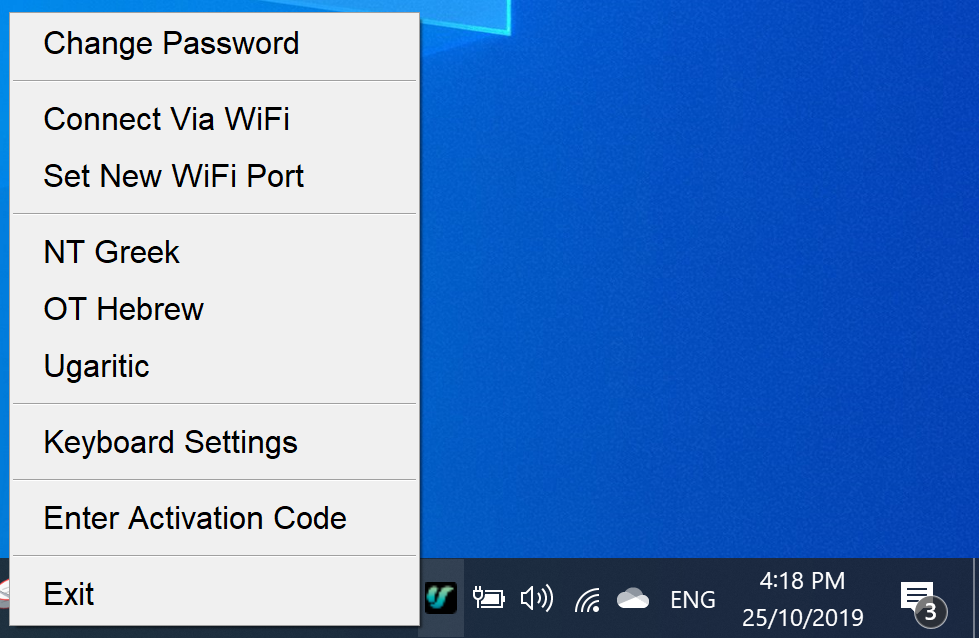
In macOS, start Vervoco Desktop by searching for it in Launchpad or Spotlight, as you would
for other applications. Left-click on the Vervoco Desktop icon in the system tray (top-right of desktop) to bring up the menu.
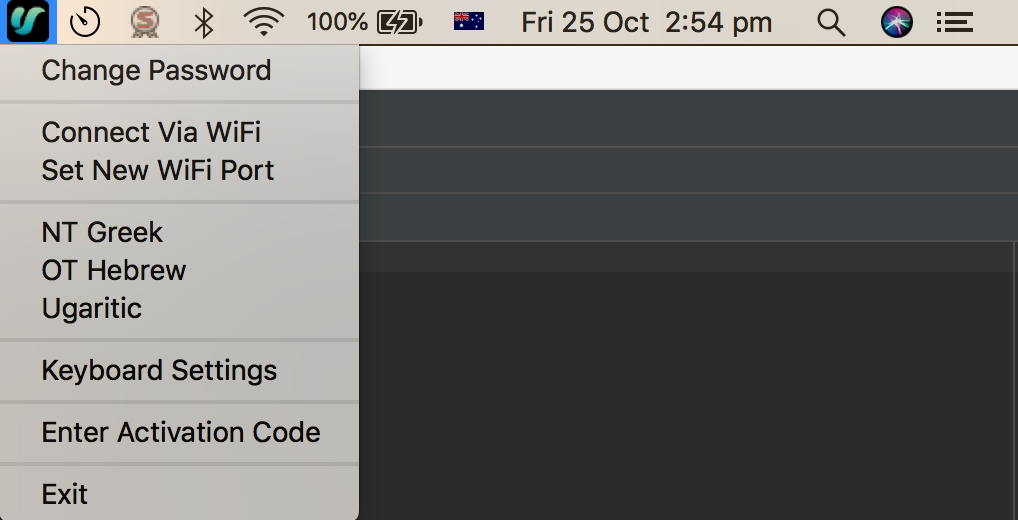
From here, Windows and macOS usage is the same. Select a language from the menu to bring up the keyboard for that language. Immediately prior to clicking letters on the keyboard, click in the document you are working on, at the location where you want to enter text. Type on the keyboard. Click on a suggestion to enter it.
To change suggestion settings or keyboard layout, go back into the menu and select "Keyboard Settings".
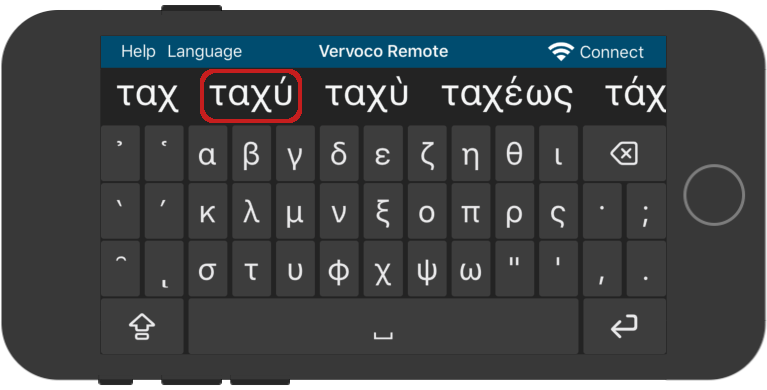
Vervoco Remote, available from the Apple App Store and from Google Play, is the free companion app for Vervoco Desktop. Vervoco Remote lets you use the same great keyboards and autocompletion modules as those in Vervoco Desktop, but lets you use them on your phone or tablet and transmit words typed over WiFi to your computer. Vervoco Desktop listens for words coming in from Vervoco Remote and inserts them wherever you have the cursor located. To use Vervoco Remote, you will need to purchase and install Vervoco Desktop.
Please perform the Windows/macOS installation procedure above before starting this procedure.
This is how you set up and use Vervoco Remote for Android:-
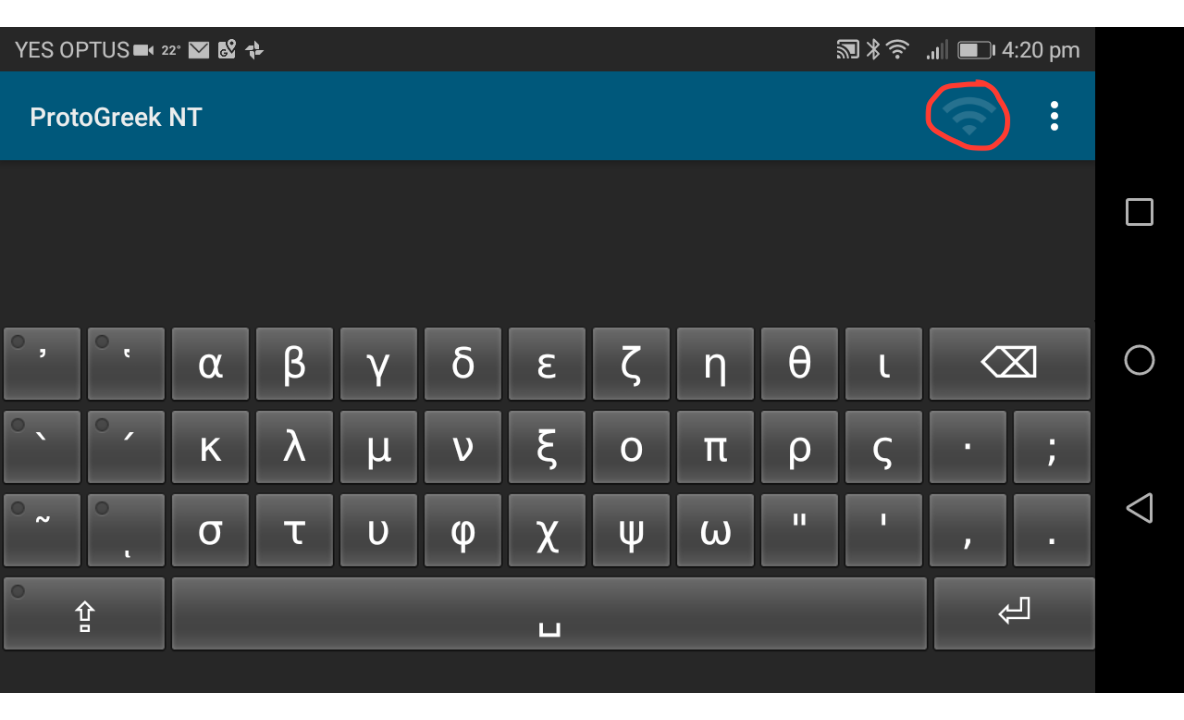
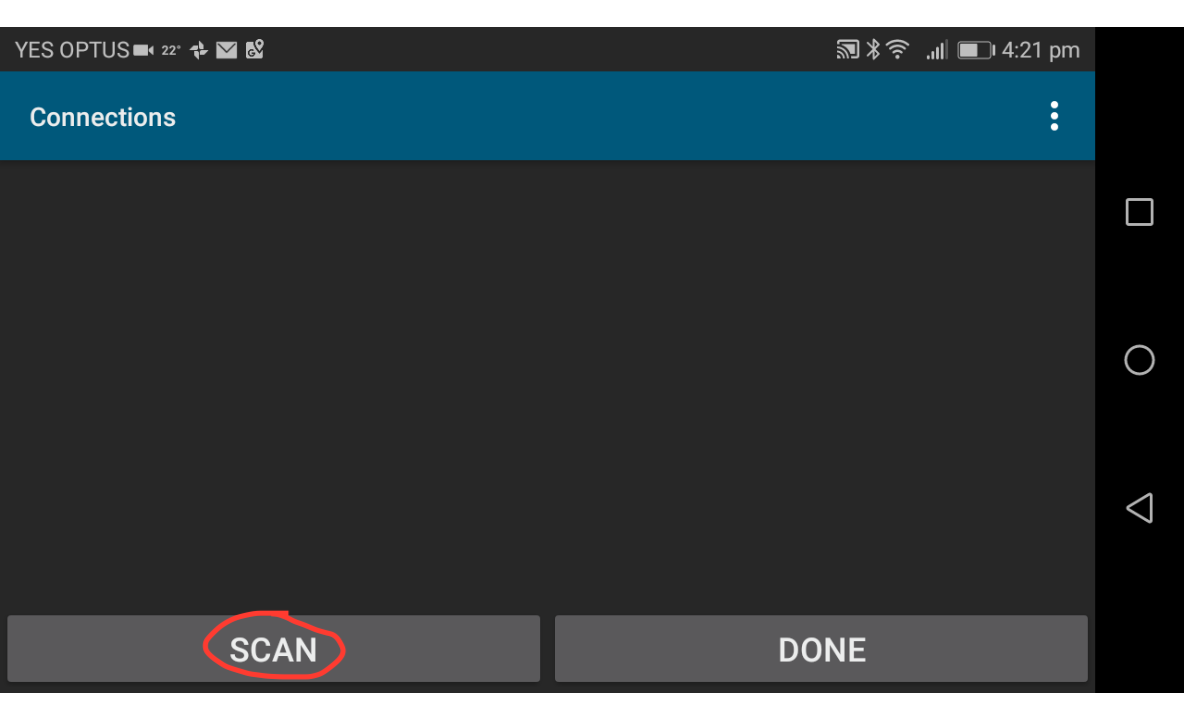
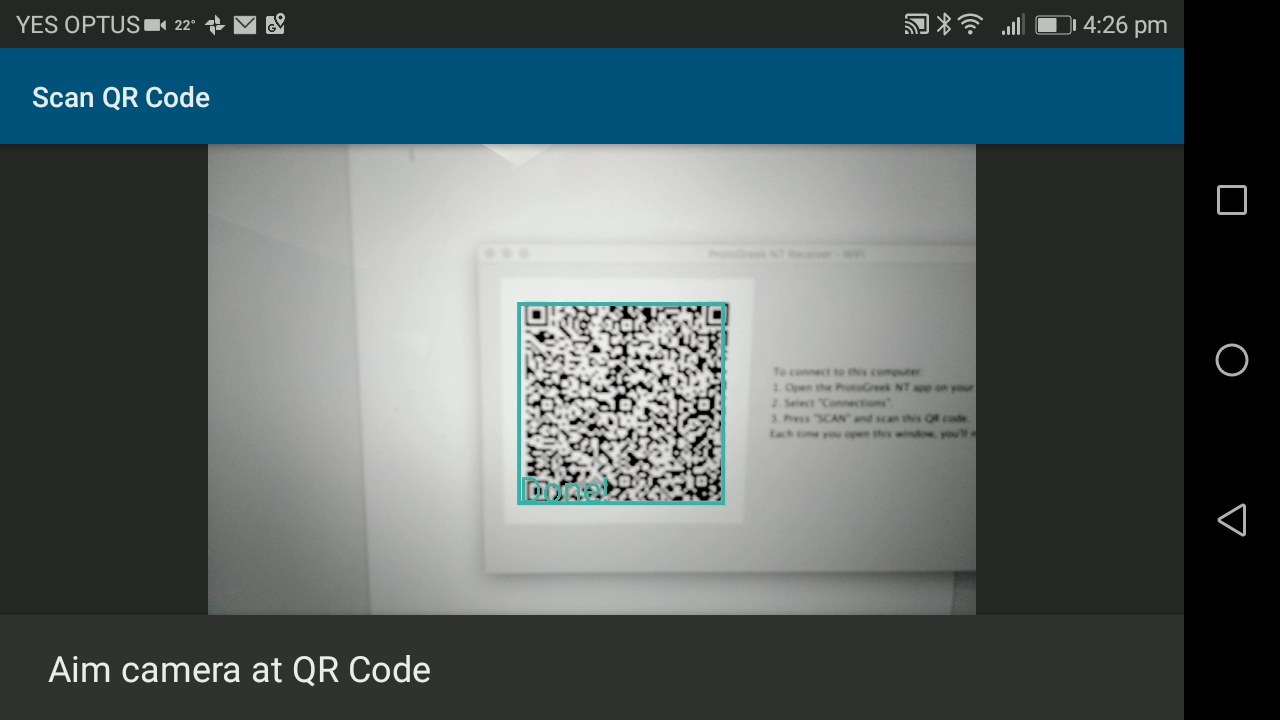
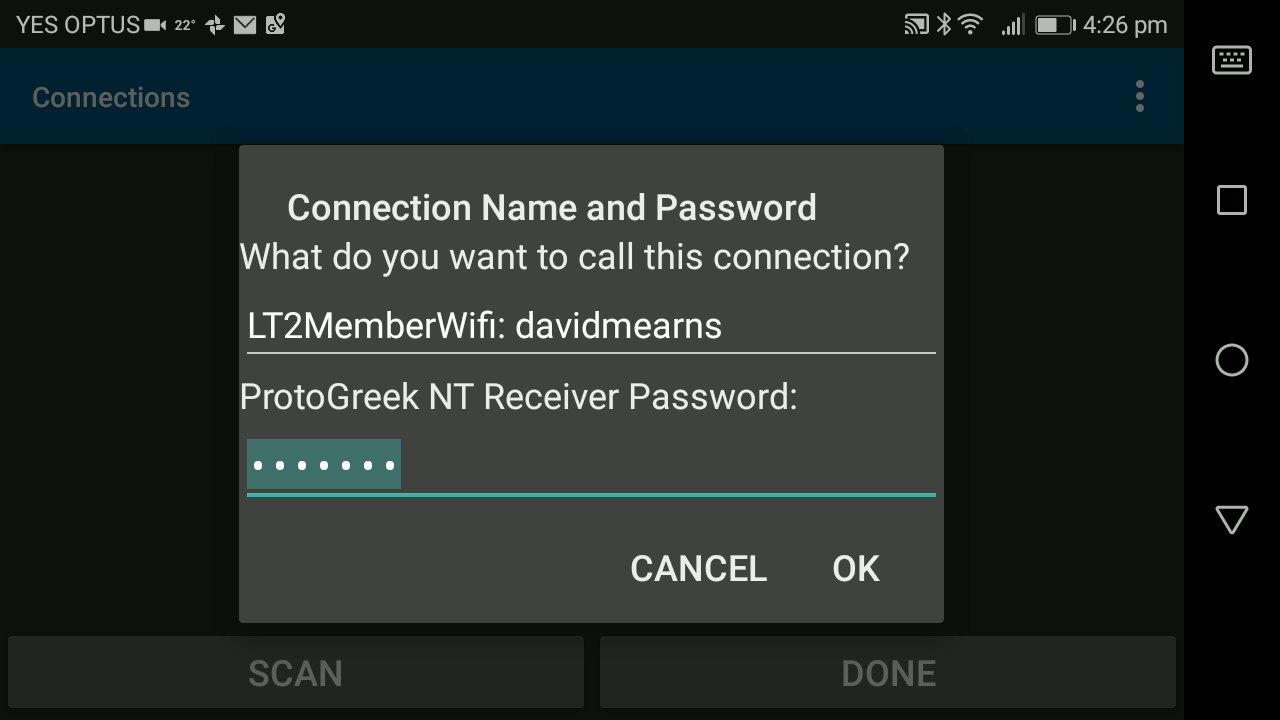
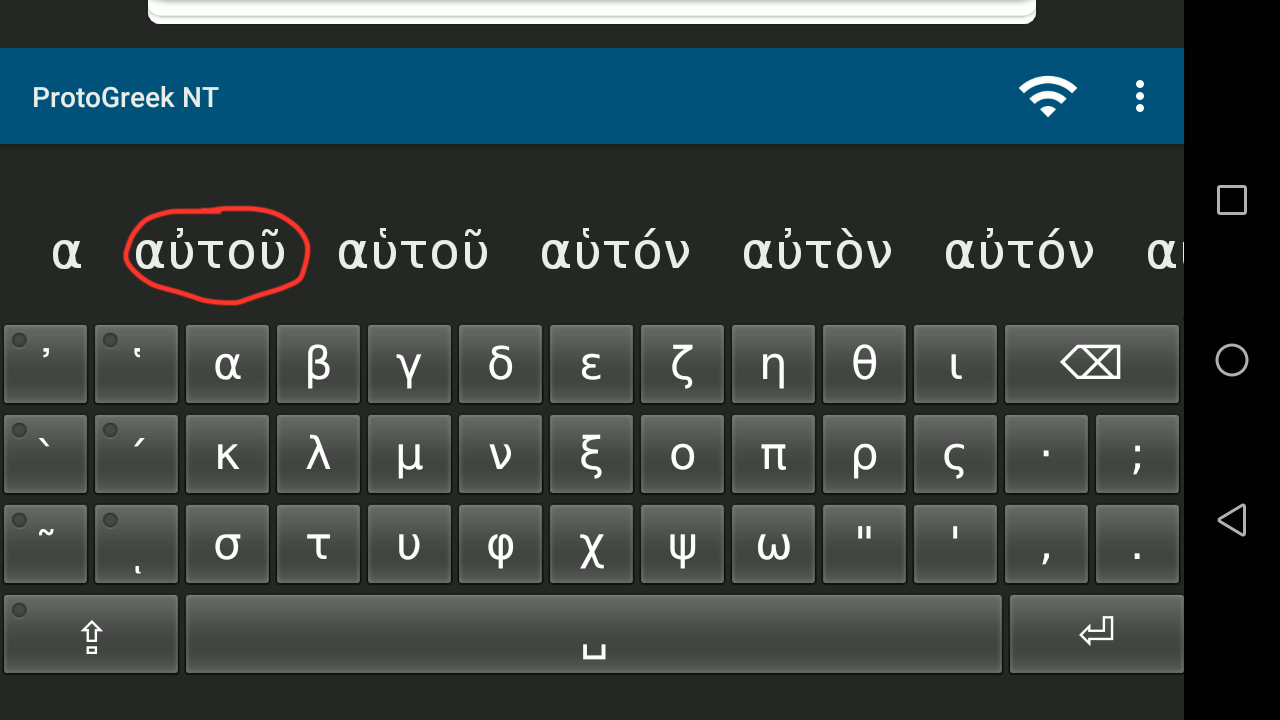
Vervoco Remote, available from the Apple App Store and from Google Play, is the free companion app for Vervoco Desktop. Vervoco Remote lets you use the same great keyboards and autocompletion modules as those in Vervoco Desktop, but lets you use them on your phone or tablet and transmit words typed over WiFi to your computer. Vervoco Desktop listens for words coming in from Vervoco Remote and inserts them wherever you have the cursor located. To use Vervoco Remote, you will need to purchase and install Vervoco Desktop.
Please perform the Windows/macOS installation procedure above before starting this procedure.
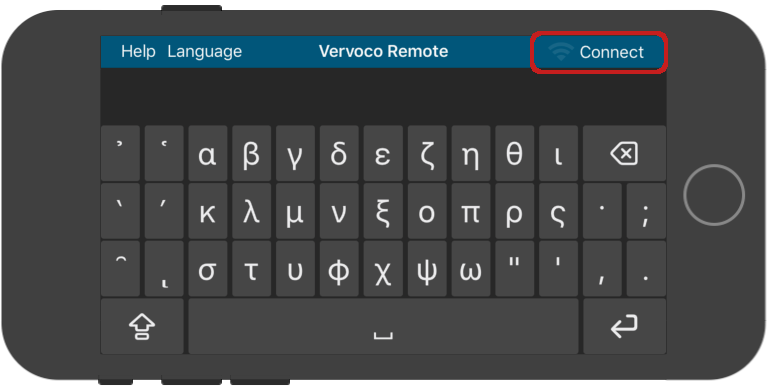
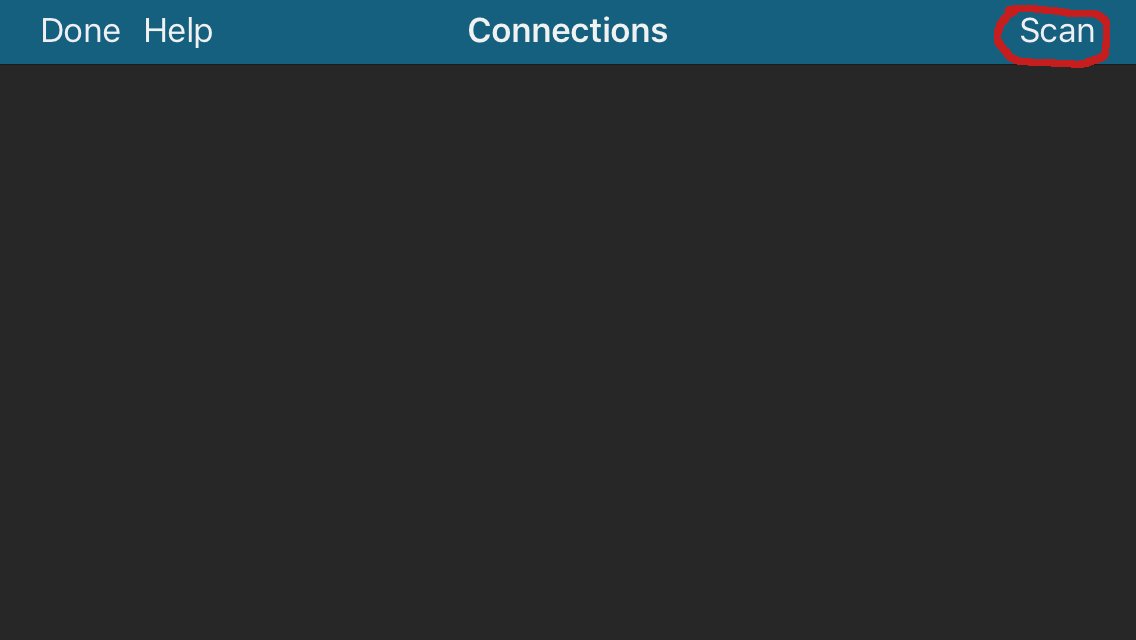
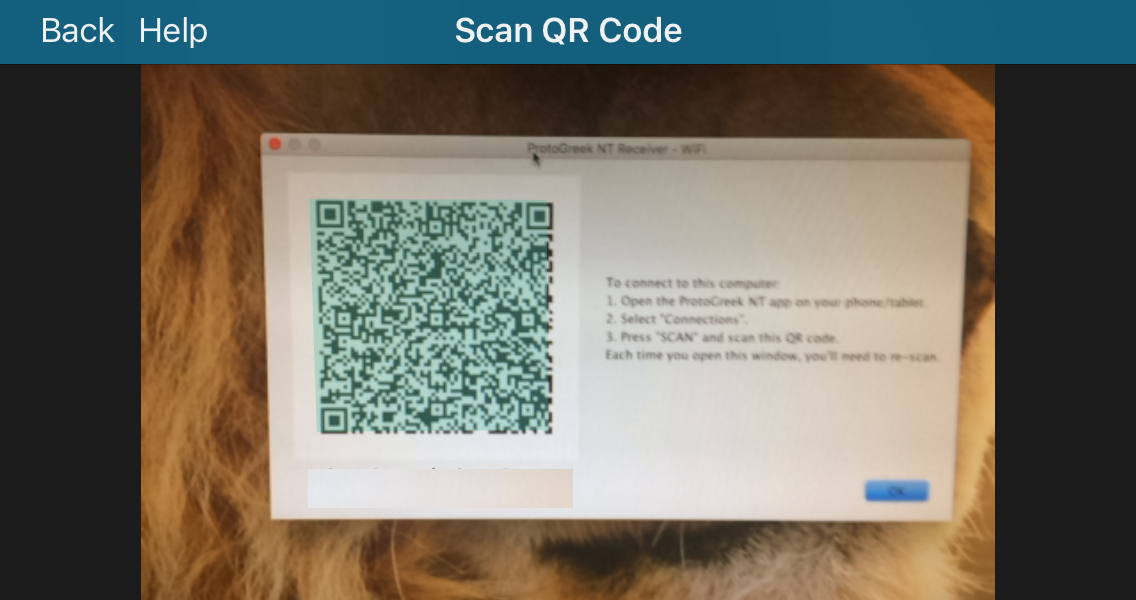
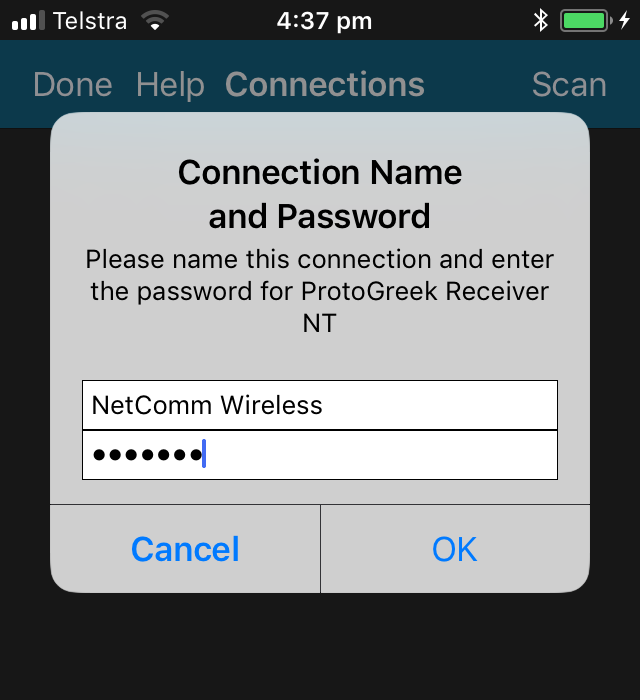
This is how you set up and use Vervoco Remote for iOS:-
Please refer to this brief guide to features and settings available for Old Testament Hebrew.
First, follow the above installation instructions for Vervoco Desktop and, if you want to draw equations on your phone or tablet rather than your computer, also follow the above instructions for Vervoco Remote for iOS/Android.
This short video demonstrates how to draw, copy, paste and delete equations, as well as how to insert your equations into a document. Should you need further help, just ask.
Convenience! The autocomplete feature means you need far fewer keystrokes.
Vervoco Desktop does not require you to swap languages in the operating system or remember key bindings. It is completely visual. You'll be able to concentrate on what you're writing, rather than on how to type it.
Also, Vervoco Desktop uses Unicode polyphonic characters, all supported by standard system fonts, for portability and printability.
It's super-simple. As connection parameters are stored by the app, very little effort is required to reconnect on a previously used WiFi network. In fact, when you start the app, it will connect automatically to the last connection used, if it is available.
There are a couple more steps required the very first time you use Vervoco Desktop on a particular WiFi network: scanning a barcode and entering a password. Still super-simple! The video below shows the process.
For such situations, we've bundled an on-screen keyboard with Vervoco Desktop so that you can use the bundled keyboard on your Windows or macOS screen, with no WiFi connection required.
However, we think you'll find the connection process is super-simple, so why not give it a go? Select the subscription version for a free-trial.
Yes! Let us know which languages/symbols are of interest to you, so we can prioritize them.
Yes! The subscription option comes with a 14-day free trial. If you are not satisfied with the product, just cancel the subscription within the trial period and you will not be charged anything.
Absolutely! Contact us and we can help arrange a gift purchase.